Showing posts with label Box Card. Show all posts

02 April 2024

Carrot Bunny Car

Hello everyone and welcome back.
Today I'm sharing the Easter card I made for my grandson.


I used a Silhouette file to cut this cut carrot card. 


Cardstocks are all from my scraps drawers except the dark orange one to create the base, that one is from The Paper Studio.


The back has the perfect mat to give you space to write your personal message.


I did increase the size of the card and made it as large as possible by putting the base of the card at a diagonal angle on the cutting mat.  I'm not quite sure of the size of the card, since I forgot to measure it, but it does fit into an A7 envelope perfectly, when folded for mailing.

That's all for today folks.  I still have a few more cards to share, so I'll be back soon.
Thanks so much for stopping by today and I hope you'll come back to visit.

Crafty hugs,


31 March 2024

Happy Easter!

 Happy Easter crafting friends! 
I'd like to share the Easter card I made for my mom.


This is what Easter is really all about for me and I know that since my mom feels the same way, that she liked it.  This design was cut using a Silhouette file. I resized it, and had to put it at an angle on the mat, but this way I was able to make it little bigger than the original file.


Here is a close up of this card. It really was easy to put together and does not have a lot of bulk which is important when you're mailing cards overseas.


 I adhered a plain white mat on the back of the card, so that I would have a place to write my personal message.


I mentioned that I resized this card.  It came out to be +/- 5.5" by 5.5" when folded flat for mailing and fits perfectly into a regular sized 5.75" square envelope.

I wish you and yours a very Blessed day filled with love, joy, good health,
and let's not forget the chocolates 😀

I will be back tomorrow with another Easter card.  We, as a family get together again and celebrate Easter Monday.  It's not really a thing in America, but we keep the traditions we grew up with.  It's fun!😀

Crafty hugs,

28 March 2024

A Toast to Your Love

 Hi everyone and welcome back. To take a break from all the Easter projects, I have a wedding anniversary box card to share with you today.


Isn't it cute? Love the play on words 😀
I used a file from Silhouette but changed the wording to suit my card.


It even has the little side handle! 


A view from the other side.


A view from the back.  I made this additional mat and adhered it to the back.  The greeting is computer generated. Although I used a large font, I still have plenty of space to write my personal message.
This card is 5.75" x 5.75" when folded flat for mailing so fits perfectly into a 6" x 6" envelope.

That is it for today folks.  I have a few more "March" projects to share with you, so I'll be back soon.

Crafty hugs,

09 March 2023

Masculine Birthday

 Hi everyone. Today I'm sharing the birthday card I made for my son-in-law.  He loves racing and muscle cars, so when I saw this file in the Silhouette store, I thought it would be perfect for him.


As you can see this 5" x 7" box card folds flat for mailing and fits perfectly in an A7 envelope.

That's all for today folks.  I'll be back tomorrow with another masculine card.

Till then,
stay safe and well!


11 August 2022

A Rawr-some Birthday!

Hello and welcome back. My son asked me to make a dinosaur card for his sister's birthday.  My first look at him must have spoken volumes because he quickly explained that it was to go with the gifts he had for her.  Of course, my look got even more intense 😀  He then smiled and proceeded to let me know that he had bought her a Jurassic Cook Book as well as a garden stature of a little gnome riding a T-Rex.  😀 Not your typical gifts, but my daughter loved them and is ready to try out some of the recipes. 


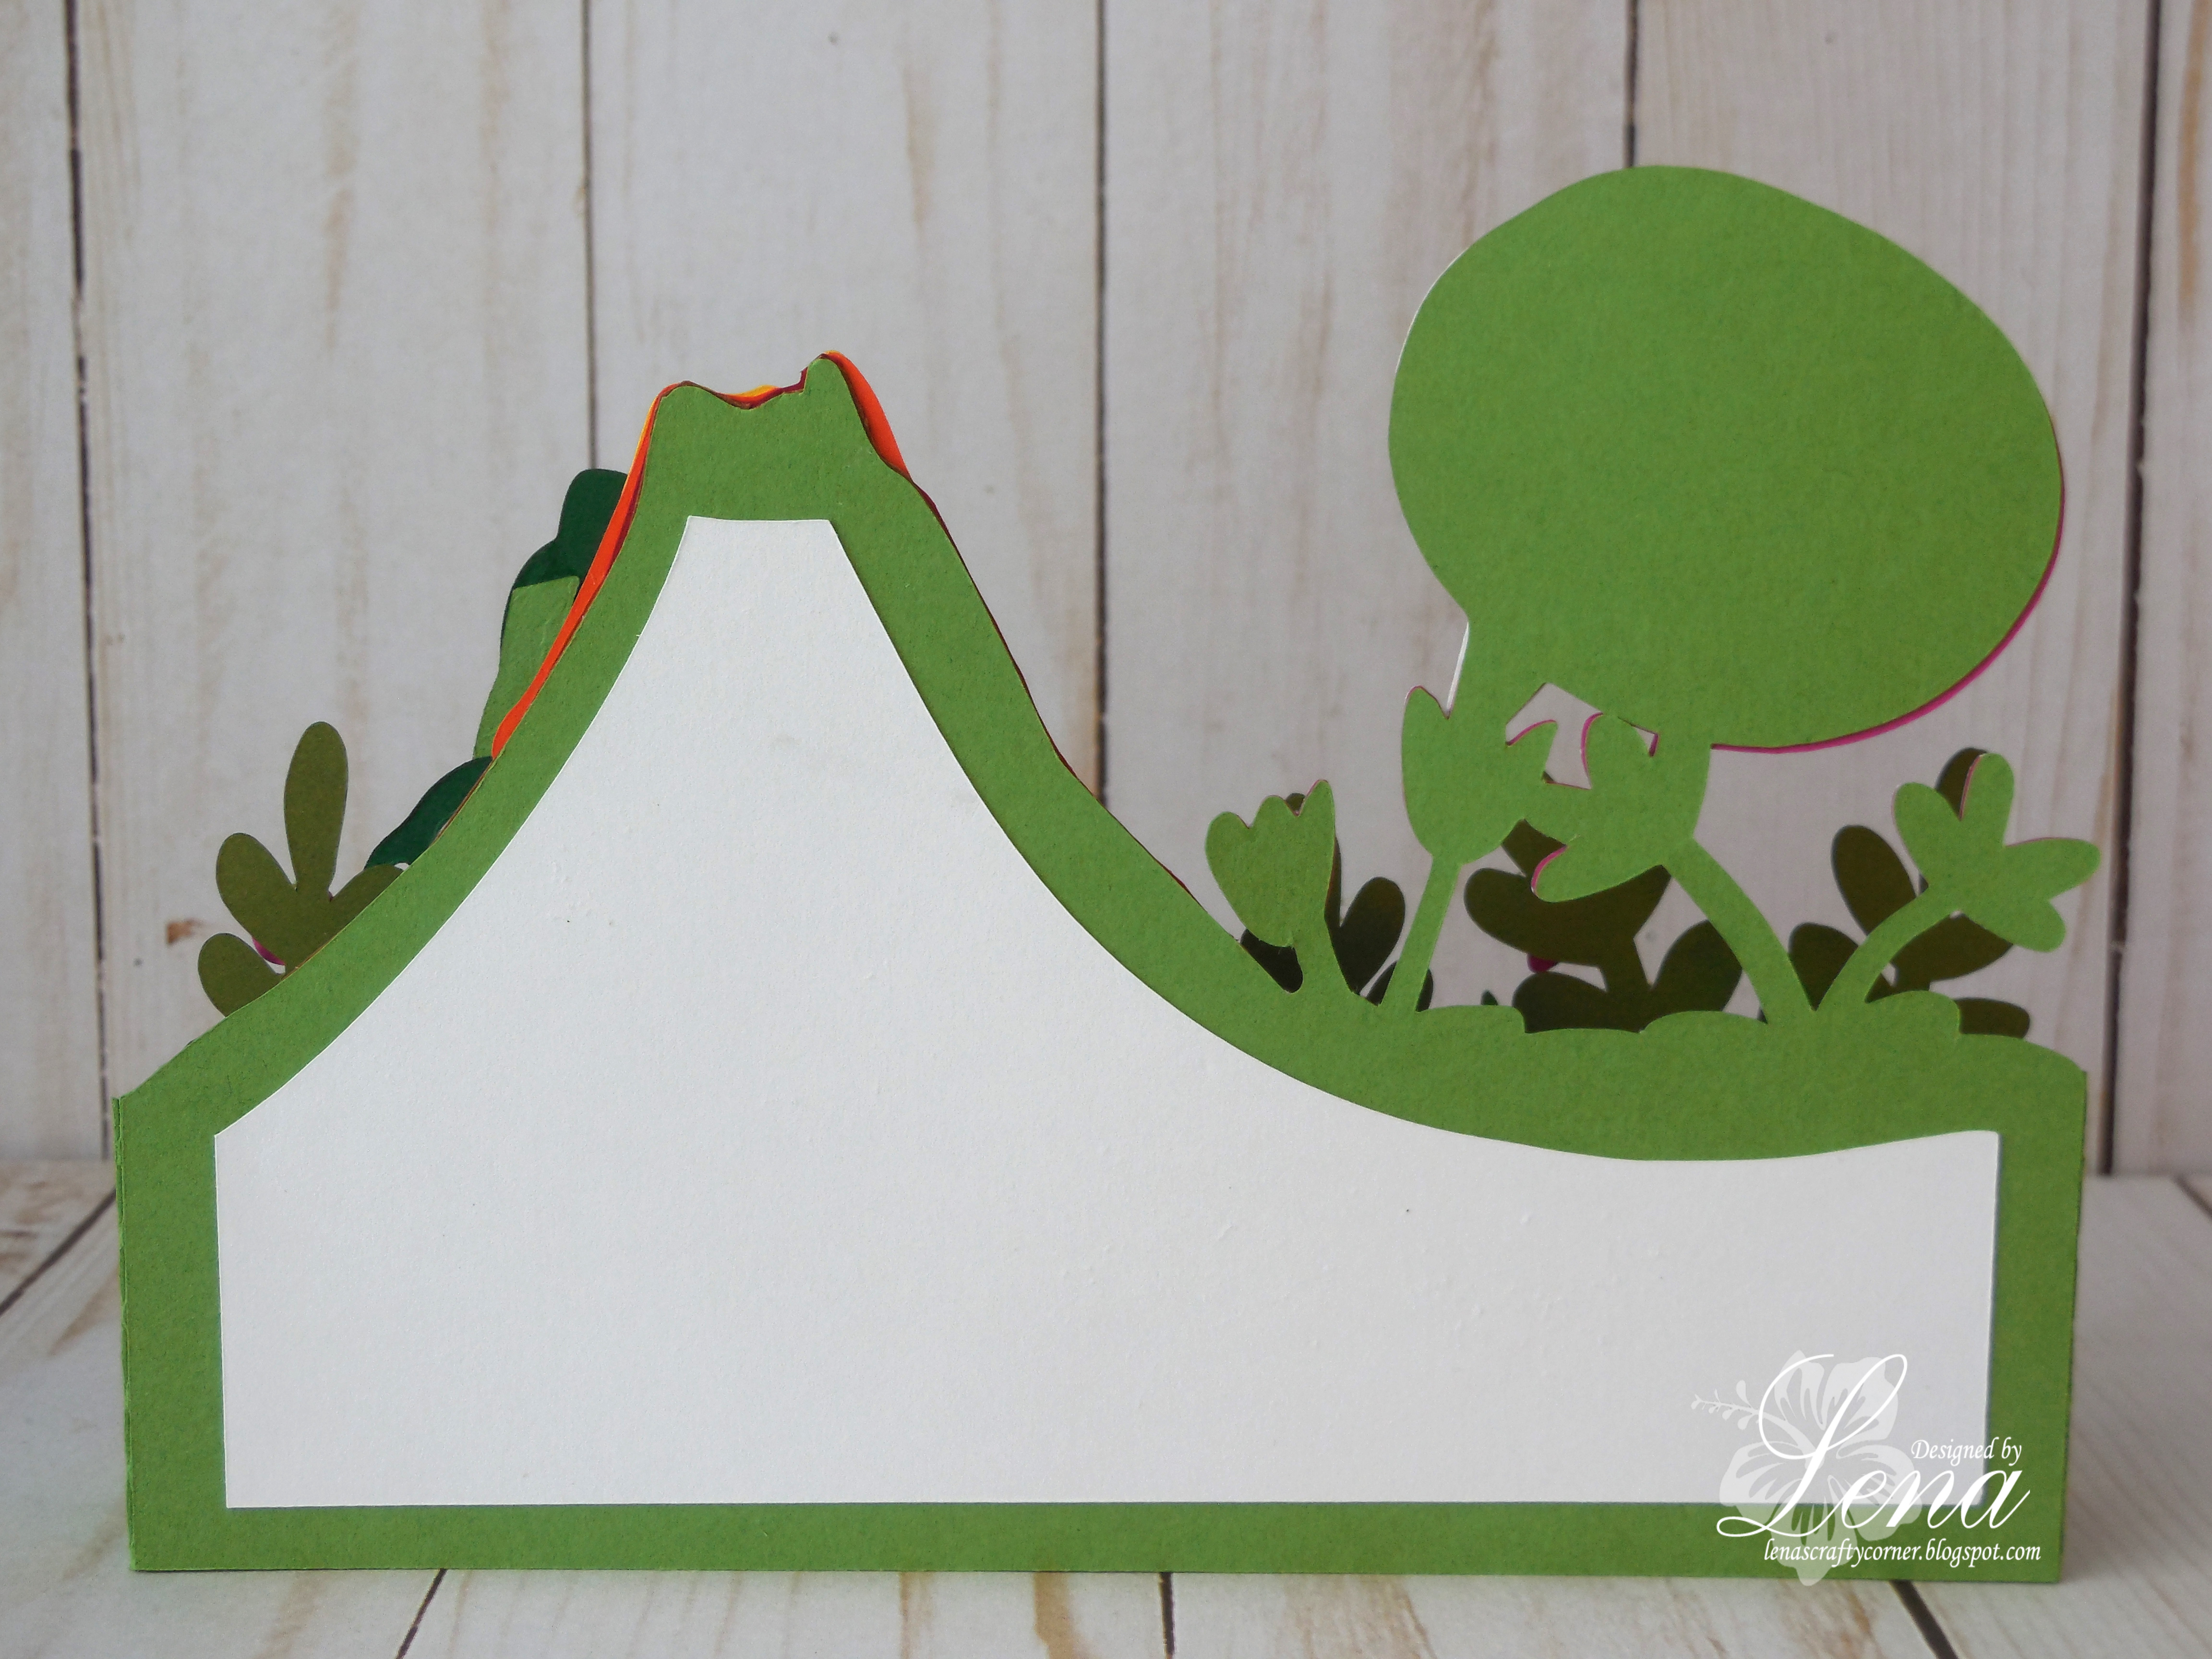
 So after looking around my dies and finding the T-Rex die, I went to Silhouette to find the perfect scene for him.  I found a box card that was perfect.  I did however, combine a couple of elements to get the scene exactly as I had envisioned it.  I also added a little pink here and there as it's her favourite colour.  Lastly, I cut a plain white mat and adhered it to the back, so my son had plenty of space to write his personal message.  I love box cards as you can build a 3D scene, and they fold them flat for mailing.  In this case, it was hand delivered, but still great that fit into a regular envelope.

Well, crafting friends, that is all for today. Thank you for stopping by and do come back to visit soon!  
If you have the time, please leave a comment below and let me know your thoughts about this card. I enjoy reading each and every one of your comments.

Till next time,
crafty hugs!


13 April 2022

Crafty Gals Corner #230 ~ Spring/Easter

  Hello crafting friends and welcome back to another fun challenge
 starting today at Crafty Gals Corner


Challenge #230 ~ Spring/Easter

Our wonderful sponsors for this challenge are ... 
(listed in alphabetical order) 

Prize ~ £8.50 Gift Certificate

************

The Paper Shelter
Prize ~ 3 Digital Stamps

When I saw these cute Spring Elves by the Paper Shelter, I thought how cute they would look on this  Tiered Box Card.


The images from The Paper Shelter come with so many different files, such as jpg, png, coloured images, black & white images, which are perfect if you like to colour, and also a background. They really do have everything you need to make a card in a jiffy.  I decided to use the pre coloured elves, and used my Silhouette to cut them out.  I forgot to resize the file, so in order to accommodate them as they are, this card turned out rather on the large size, but it's not problem, as I think it looks even better.


I made the card myself, following the tutorial by Sam Calcott, here, but adjusted the sizes in order to fit my elves.  I then added a fence die cut to the front of the card, another grass layer and bunches of roses and daisies. To create the grass sections inside the card, I used a MS punch.  The smaller grass border on the front of the card was cut using a die from Precious Marieke.


On the back of the card, I used Hero Arts' Special Birthday stamp as the sentiment.


As you can see, this envelope is too small for the size of my card, but I wanted to show you how it folds flat for mailing. My card is 5.5" wide and 6" tall which means it will fit in a 6" square envelope. This size will require a bit extra postage here in the US, but I think it will be worth it :-)

   That's all for today folks.  Thank you so much for stopping by. I hope you liked my card, and feel inspired to get crafty and come play along with us. You have until 12:00 pm, CST, on 10 May 2022, to link your project to our challenge.

Crafty hugs,


10 June 2021

Emma's B'day - Moana Box Card

 Hello everyone! As promised I'm back today to share the card I made for my little granddaughter's birthday. Her birthday celebration was all about Moana, so I made her a Moana themed card.


I think it turned out super cute and she loved it.  In the end, that's all that matters :-)

Images are from Google. I used the Silhouette to trace and cut the images, as well as to cut the card base and a few of the other embellishments.

Well, that was it.  I'll be back tomorrow with my regular Fairy Stamper Friday share.  I hope to see you then.

Crafty hugs,


16 November 2019

The Aliens are Coming!!!

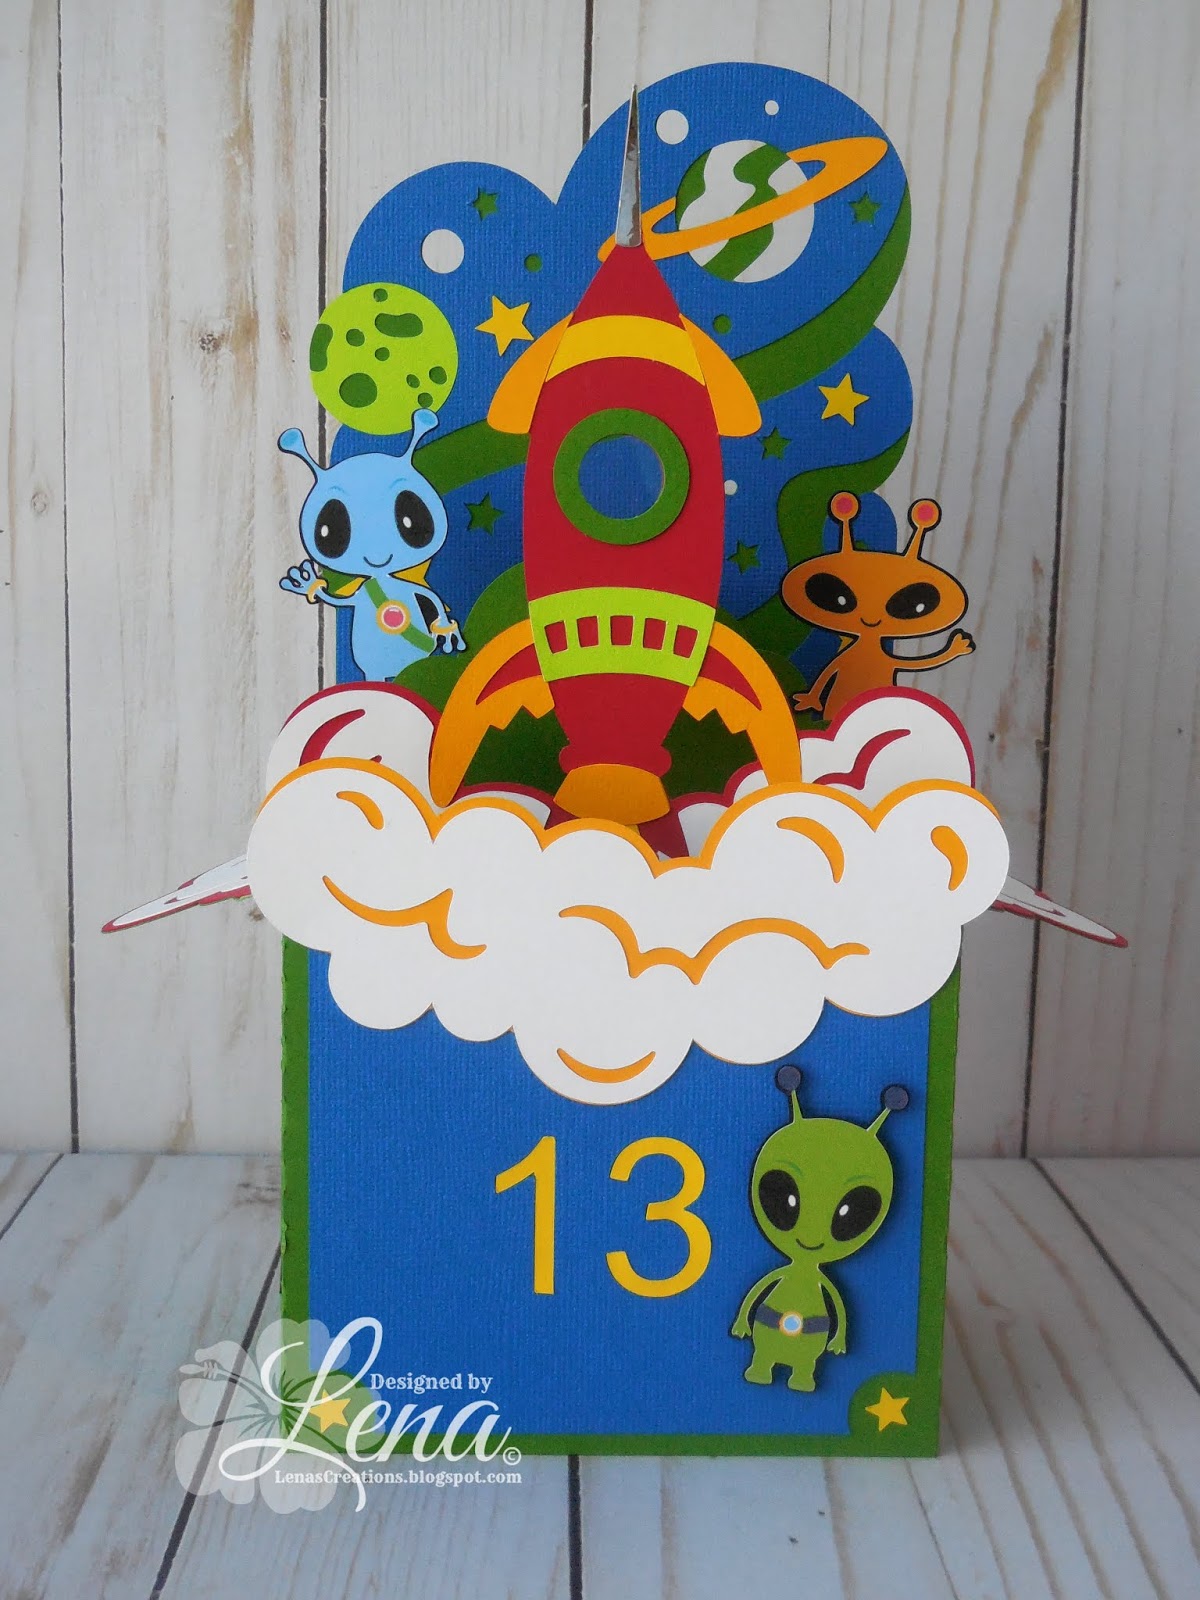
Yes, they are to help my nephew celebrate his 13th birthday 😀
Rocket Box Card svg from the Dreaming Tree. Aliens are from Google.
Easy and fun card to put together.
I have lots of pics to share!

 Front of card.

View from the top.

 From the left.

 From the right.

 Another view from the left.

 Another view from the right.

 The back where I put the greeting.

Card and envelope, which also comes as part of the Dreaming Tree cut file. 

I resized my card to be approx. 9.9" x 5.4".  So my envelope measures 11" x 11.5".
This was to be hand delivered, so the size was not a problem :-)
You can size your card to any size you'd like.

The card fits in the envelope snugly, but perfectly :-)

Thank you for stopping by today.
Wishing you all a wonderful weekend.

Crafty hugs,


14 April 2019

Easter Basket

Hello crafting friends. I'm on the Dies R Us Inspiration Blog today sharing an Easter box card with you


Isn't it cute? I used Karen Burniston's Woven Basket Box Card die to make the basket.  It's always so much fun to build a box card.  And, the best part is that once I decided what I was going to do, it didn't take very long to put it together.  I don't have a pictorial for you, but if you would like instructions to make one of your own, here is the link to Karen Burniston's video tutorial.  I used several dies for the contents of the Easter basket. I've listed them all below for your convenience.


I thought it would be fun to add another cute little chick to the front of the basket.  I used the other half of the egg to make it look like it fell from the chick in the basket :-)


 Here is a peek at the basket from the top.


On the back I added my greeting mat with the sentiment stamped with Onyx Versafine ink.


As you can see, it folds flat for mailing.  My card fits perfectly in an A9 envelope (7.25" x 5.25") and will not require extra postage.

As promised, here is the list of the dies I used with links to the Dies R Us store, for your convenience.


This die set used to come with a butterfly but now, it comes with a couple of cute bees.
Of course if you want to add a butterfly, there are multiple choices available at the Dies R Us store.
Go to "Dies" and enter "butterfly" in the search bar for multiple options.


Memento Tuxedo Black Ink

Remember that the Marianne Design dies are normally under Special Orders in the store.  Every so often, Dies R Us runs a big sale on international dies. During these times, you will find dies from companies such as Marianne Designs, Lea'bilities, and Joy Crafts among others. The best way to know about these fabulous sales is to subscribe to the Dies R Us Newsletter.  When you go to the store's home page,  scroll down to the bottom.  There you will find a box where you can enter your email address and be put on their mailing list.

That is it from me for today, crafting friends. I hope you enjoyed your visit and that I was able to inspire you to use your dies, create a project, and come play along with us at the Dies R Us Challenge Blog for your chance to win a gift voucher to the Dies R Us Store.  A new challenge begins on the 1st and 15th of every month.  Be sure to follow us on Facebook and Pinterest too.


I would like to play along with the following challenges:

Scrappy Land - Anything Goes


Crafty Hugs,