Showing posts with label Tags. Show all posts

12 June 2024

Crafty Gals Corner #256 ~ Anything Goes w/Twist - Fancy Fold

      Hello crafting friends and welcome to our June's challenge


Challenge #256 ~ Anything Goes with optional twist - Fancy Fold

 Our sponsors for this challenge are: 
(listed in alphabetical order)


Prize ~ 2 Digital Images

* * * * * * * 

Prize ~ 3 Digital Images

* * * * * * * 
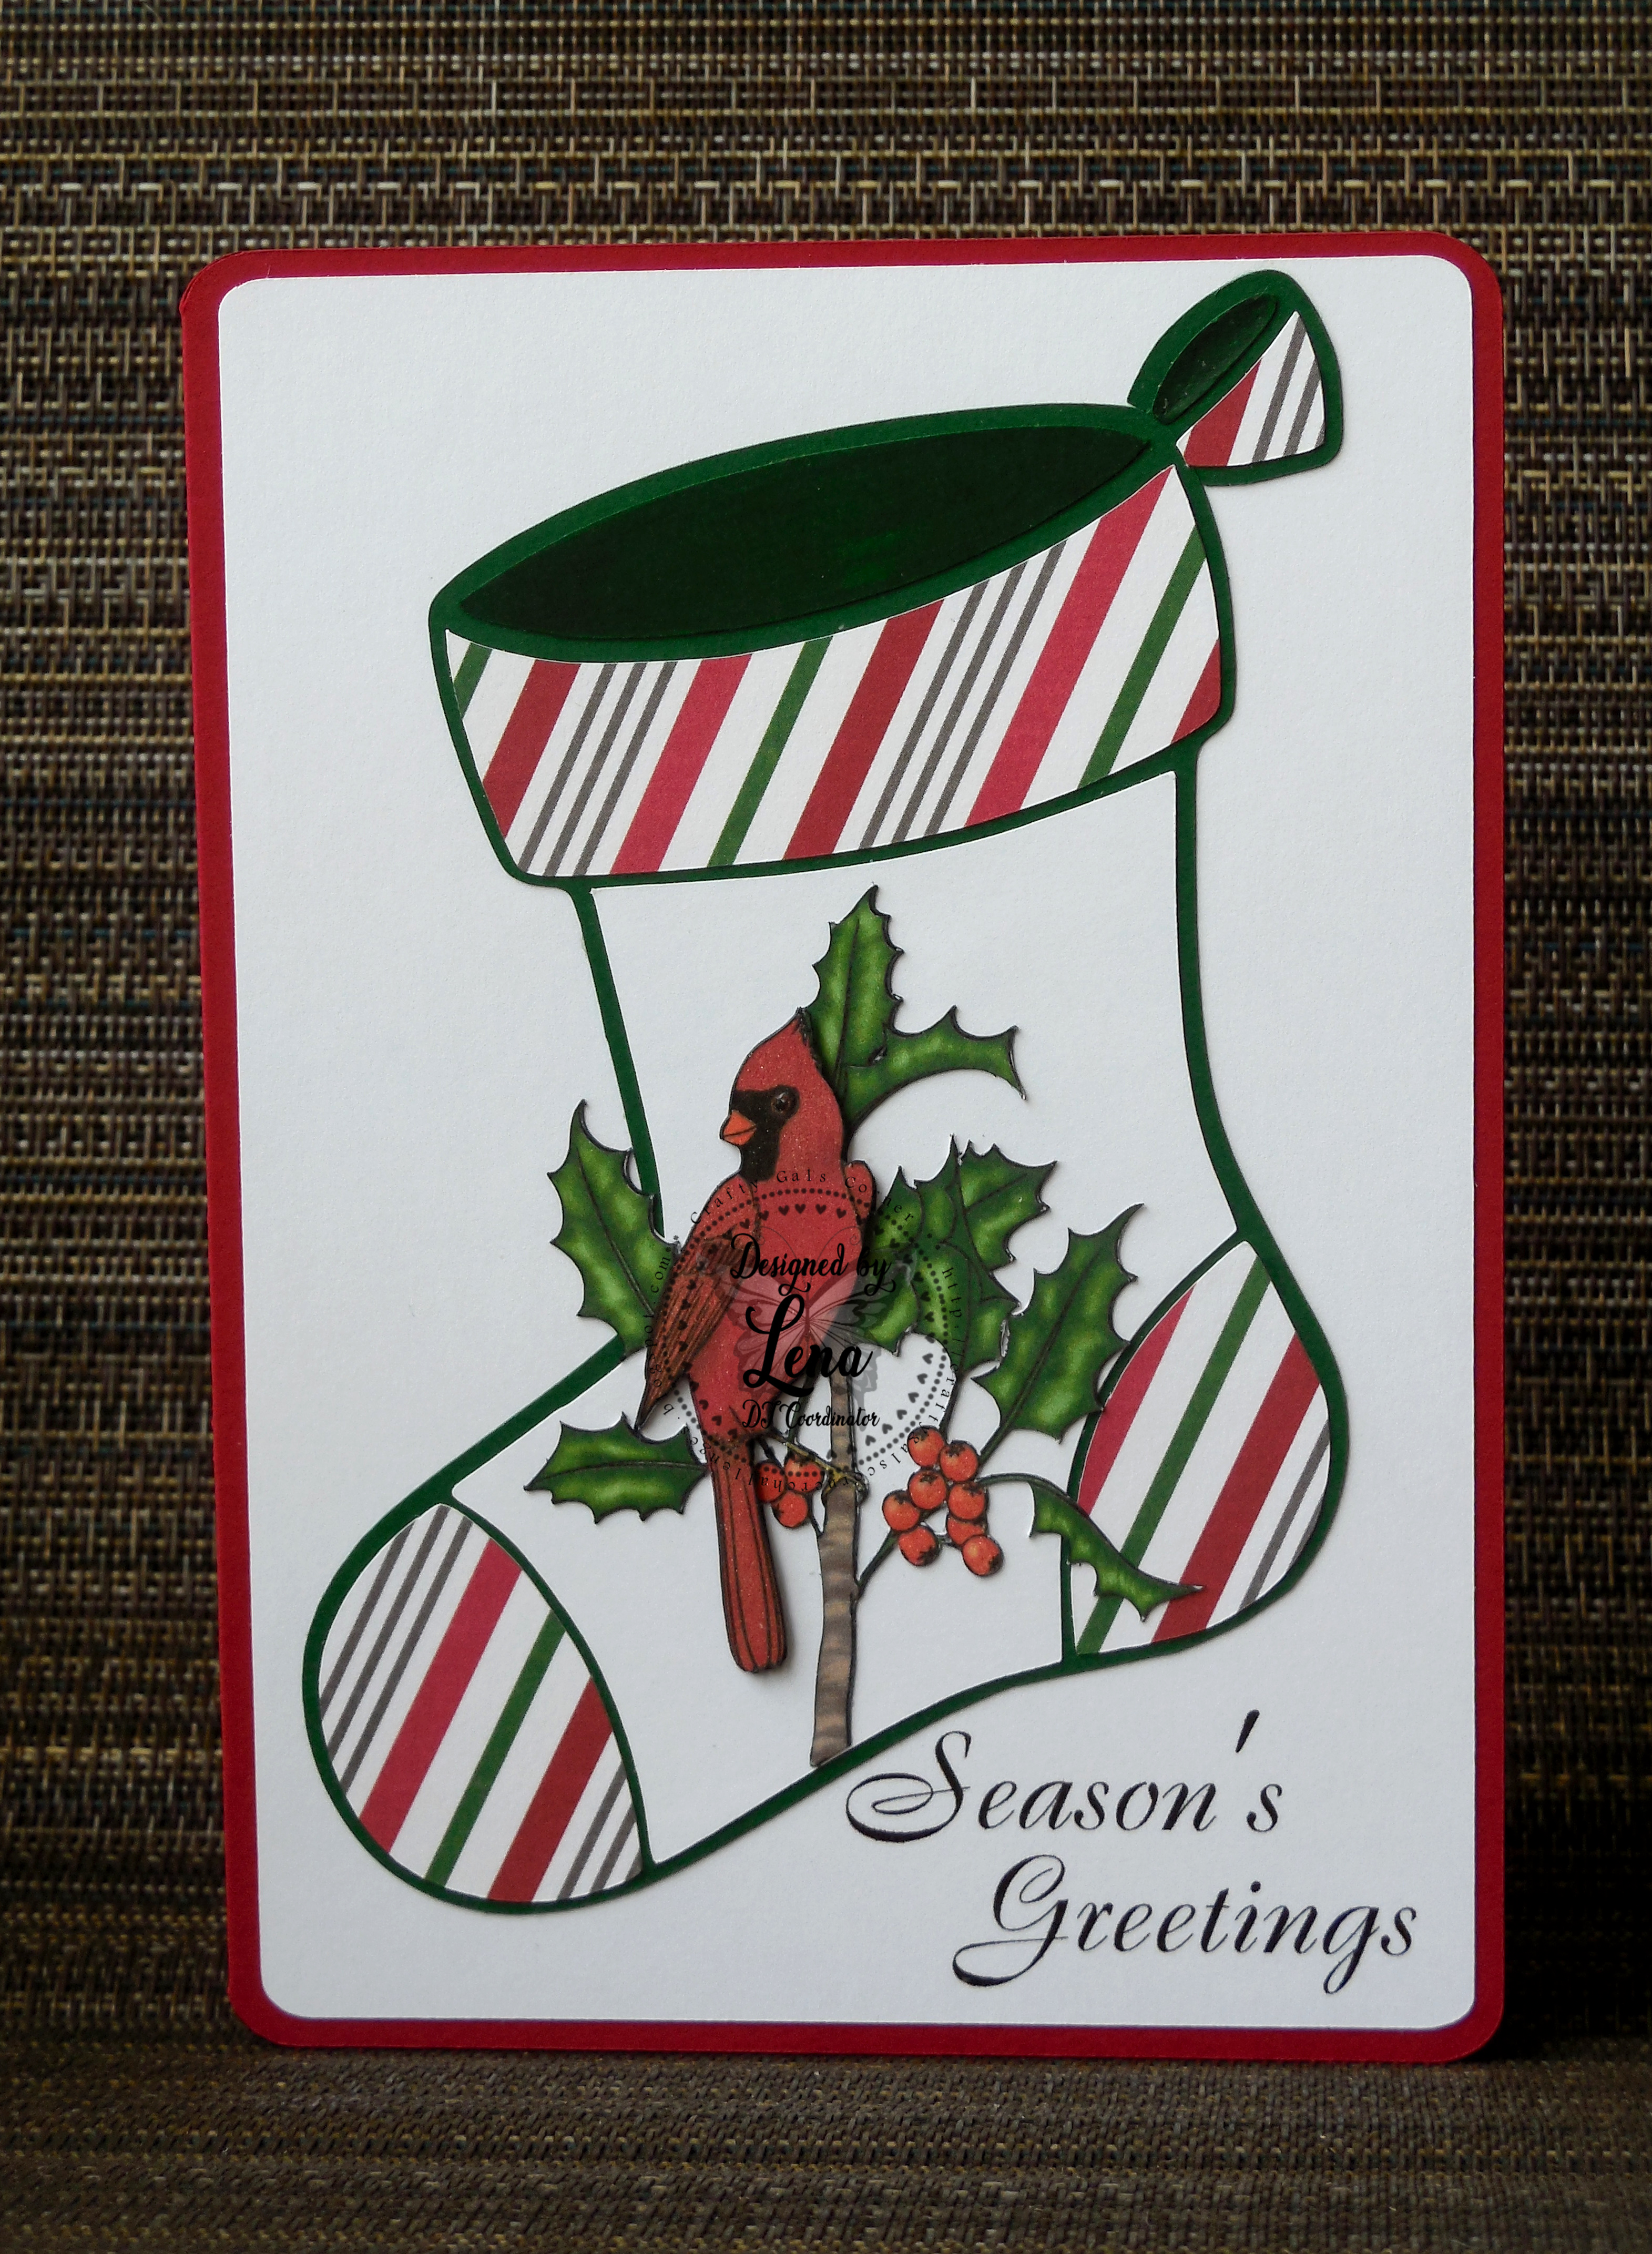
Using Simply Santa (Colour) from Dr Digi's House of Stamps, I created this tiered card, as well as a bunch of tags (see below).


Card base is a .cut file from Silhouette.  I changed it slightly in order to add my Santa to the front. I print and cut the Santa once onto photo paper and twice more on 110lb cardstock to make it sturdy. 


I love the simple design of this tiered card. 


I think the white snowflakes on the white card are beautiful and add a little texture.


I created an extra mat on the back to add a sentiment and to give me a place to write my personal message. The sentiment stamp is from the Very Merry stamp set from CardzTV.


This card is on the larger side, but folds flat for mailing and fits into an A9 envelope.


Using the same coloured Santa digi, I created this tag using a file from Silhouette.


I created a backing for each tag on the Silhouette and used the print and cut feature to cut them all out.  Once I had adhered all the layers together, I threaded each tag with small piece of red and white twine.


I created 24 of these tags. This added nicely to my tag stash so hopefully this Christmas, I will not run short of tags :-)

Thank you so much for stopping by today.  I would love to you see you play along with us.  You have until noon, CST, on 9 July 2024, to link your project to our challenge.

Crafty hugs,


10 January 2024

Crafty Gals Corner #251 ~ Winter Fun!

     Hello crafting friends and welcome to our first challenge of 2024,
 here at Crafty Gals Corner


Challenge #251 ~ Winter Fun!

 Our lovely sponsors for this challenge are: 
(listed in alphabetical order)

Prize ~ $10 Gift Certificate
Fred She Said Designs offers a wide variety of digital products with a floral flair and cute characters too - Digi's, Pre-colored images, Papers, Sets, Fred's Flower Kits, and even digital cutting files.  Have some fun with Fred!

* * * * * * * * * *

Prize ~ 3 Digital Images

* * * * * * * * * *

I have two projects to share with you today, using the same beautiful digi from Fred She Said, called Winter Chickadee

The first project is a card I made using a file from the Silhouette store. I thought how happy it would make me to see this darling little bird chirping away, sitting on a branch of a tree just outside of my window.


This sweet little bird can be used in lots of different ways, so let me show you the beautiful tags I made using this digi.


I used a tag from Silhouette and resized to fit the bird image without having to trim too much off of it.


I matted it onto cherry red cardstock and stamped the To: and From: on the back.


I ended up making 12 of them.  I think that they came out so cute and festive that I'm going to make a bunch more.  After all, you just can never have too many tags at Christmas time.😀

That is all I have to share with you today.  Thanks so much for stopping by.  I would love to you see you play along with us.  You have until noon, CST, on 13 February 2024, to link your project to our challenge.

Crafty hugs,

20 December 2023

The Paper Shelter ~ Christmas Break Challenge

   Hello friends! Welcome to our 2023 Christmas Break Challenge at the The Paper Shelter


Although this is our last challenge for the year, we do have lots of inspiration for you as both Team A and Team B are participating in this challenge.

   Our theme for this challenge is
~ Anything Goes ~

With it being so close to Christmas and me being up late wrapping gifts while listening to Christmas music, I realised that I was short on tags, so this was the perfect way to showcase this cute little elf in the Christmas Stocking


I used a Silhouette file for the tags.  I uploaded the background that comes in this image set and print and cut the tags.  Then I printed additional elf in the stocking images and used foam squares to adhere them to the tag.  This added beautiful dimension to each tag. I printed the Christmas Stocking images on photo paper. It prints beautifully crisp and bright!


I finished it off by matting it onto red cardstock and adding some twine and a tiny ponsettia.


I also made another slightly different version.  I matted this one on to green cardstock and added twine and a red bow made from organza ribbon.


I ended up making 12 of each.  They were so easy to put together and look really pretty on the gifts.  I forgot to mention that I stamped "To:" and "From:" on the back of each tag to make it easier to address each tag to the different persons.

Our Christmas Break Challenge runs for 4 weeks, and although we are taking a break, there is still a chance to win a prize.  The Paper Shelter offers a $30 gift certifcate for one lucky winner.  In order to get this prize, you must use a product from The Paper Shelter.  However, if you have not used a product from The Paper Shelter, you still stand a chance of winning 3 digis of your choice. 


Team A will be kicking off the New Year when we get back on the 17th of January 2024, so  I will be back sharing a project for our "All Things New" challenge.  Until then take care, stay safe and have a very Merry Christmas! 🎄

Crafty hugs,

31 July 2023

CCAYR ~ Eight Maids a Milking

  Hello crafting friends and welcome to this month's challenge  at Christmas Crafts All Year 'Round.  On our "The 12 days of Christmas" challenges, this month we have Eight Maids a Milking. 


This is August's inspiration pic.
Our challenge this month is to have Eight of something or For a Child.

I created this shaker tag for my lil grandson.


Crafty supplies used to make this tag:

Elizabeth Craft Designs - Snow Globe
Elizabeth Craft Designs - Holiday Elf - His
Marianne Design - Pine trees
Lawn Fawn - Stitched Hillside Borders
Moonstone Dies - Snow Globe

Thanks so much for stopping by today. Now it's your turn to make a Christmas project that falls within our challenge theme, and come play along with us.  You have till the end of the month to link your project to our blog at  Christmas Crafts All Year 'Round.

Crafty hugs,

22 July 2022

Fairy Stamper ~ Snow Globe Gift Tags

  Hello friends and welcome back to my Fairy Stamper Friday share!


Before I share my project with you today, I would like to remind you that we have 22  gorgeous Flower Fairies stamp sets and 5 new sentiment stamps that debuted on the Create and Craft show on Monday! These beautiful Flower Fairy stamps are available at the Fairy Stamper store.  You can purchase them individually or as a "must have it all" set at a discounted price. They are all gorgeous and I can't wait for mine to arrive.

In the meantime, I will share my next Christmas in July project.  Because there is such an awesome variety of stamps and dies at the Fairy Stamper store, in addition to all the gorgeous fairy folk, I was able to create these two tags using Christmas stamps and matching dies.


I've only made 2 of these shaker tags so far, but I'm planning on making another 8, one for each member of our family expected to be here in the US for Christmas.  Once those are done, I will share them with you.
For these I chose the cardstock I was going to use and cut out all the elements from the Snow Globe Gift Tag die set.  In order to turn this into a shaker, I cut out the snow globe 8 times.  I prefer to adhere multiple layers together  than using foam tape when making snow globes. I feel that they are a lot more sturdy and when looking at the sides, it has a cleaner finish.  Next I stamped all the tiny images, copic coloured them, and cut them out using their corresponding dies. Once I had all my bits and pieces I assembled each tag. I adhered 6 of the snow globe cutout layers to the back panel.  Next came the acetate layer and then the final front layer.  In order for the "snow" to move freely inside the snow globe, I adhered the tiny gingerbread tots and Santa to the front of the acetate.


I kept the back very simple by just stamping the "to" and "from" on it.


Here is a close up of the Santa tag. The little tree is on the inside but Santa has been adhered to the acetate on the front.


I used Twinklets Diamond Dust for my snow inside the shaker, since they are pretty small.


And here are the gingerbread tots.  The little tree is adhered to the acetate on the inside and the lil cookies are adhered to the acetate on the outside of the snow globe.  This way it was easy to cover the glue dot on the tree that I used to adhere it to the acetate.


Here you can see the Diamond Dust laying in the background.

Looking back, I think that a little red gem on the center of each embossed snowflake will look very pretty.  Will have to remember that when I make the others, and to be honest I'll probably go back and add it to this one too :-)

Here is the supplies I used.  I have linked each one to the Fairy Stamper store, for your convenience.


Thanks so much for stopping by today.  I hope you will come play along with us. Our challenges go live on the first Thursday of each month on our Facebook group.   All you have to do is to create a project using your stamps, and upload the pic to our challenge album.  Of course we would love to see projects using Fairy Hugs stamps, but it is not a requirement to enter our challenges.  We do however request that you use a stamp, not a digi.  There is a prize drawn for one lucky crafter, at the end of every challenge. 😀

Till next time,
crafty hugs!

13 July 2022

Crafty Gals Corner #233 ~ Christmas in July

  Hello crafting friends and welcome back to another fun challenge
 starting today at Crafty Gals Corner


Challenge #233 ~ Christmas in July


Our sponsor for this challenge is 

Prize ~  $10 Gift Certificate

I love cardinals and I'm fortunate to have two cardinal couples that often come play in my backyard and enjoy a few treats I put out there for them.  They also feast on our fig tree which is annoying but we do have plenty to go around.  Birds are annoying, when it comes to my figs, because they pick at several different figs at the same time and therefore destroy a bunch of them in one go.  The squirrels on the other hand, pick a fig, eat the entire thing, and then go on to second one, and so on.  Anyway, now onto my card featuring the gorgeous Cardinal and Holly from Beccy's Place.  


I used a Marianne Design Christmas Stocking stencil for the stocking. I uploaded, sized, and cut the cardinal using my Silhouette. Greeting was computer generated.


I sized the cardinal image smaller and printed it on the inside of my card too.  The sentiment is from the Christmas Sayings stamp set by Creative Expressions.


Since I seem to always be short on tags, I thought this gorgeous cardinal would make simple but beautiful tags and I was right.  I made 24 of them.  Couldn't decide whether a red mat or a green mat would look better so I cut 12 of each.  Love how they came out, so I will probably print a few more closer to Christmas.  This is the beauty of using digital images - you can size them for different projects and they always look beautiful!

Well, friends, that's all for today.  Thank you so much for stopping by. I hope you liked my card, and feel inspired to get crafty and come play along with us. You have until 12:00 pm, CST, on 9 August 2022, to link your project to our challenge.


Crafty hugs,


09 December 2020

Crafty Gals Corner Challenge #214 ~ 'Tis the Season

   Hello crafting friends and welcome back to another fun challenge starting
 today at Crafty Gals Corner!  


Challenge # 214 ~ 'Tis the Season!

Our wonderful sponsors for this challenge are ...
(listed in alphabetical order)

The Paper Shelter
Prize: 3 Digital Stamps


Prize: Images and Paper Pack used by the DT

It's always so stressful when I'm doing my last minute Christmas present wrapping and run out of tags.  It happens to me every year.  So much so that this year, I decided that I was going to have plenty of tags on hand.  If you are one of my followers, then you know that I have been making Christmas tags thru out the year, but just to make sure I have enough, I decided to make another 24 when I saw these adorable Christmas images from one of our new sponsors, We Are 3.  Take a look ...


For these tags, I used the Christmas Fun Printables and 3 of the papers from the Victorian Christmas Paper Pack.  For the shapes, I used a Silhouette design file.

They were easy to make and look absolutely adorable.  Here are few close up pics,


On the back, the stamped greeting is from the Star of Light stamp set from StampinUp! and the To and From are from the Poinsettia Stamps & Die set by JustRite Stamps.

And now I'm almost 100% certain that I will have enough tags this year.  Now to find the time to do some wrapping before that night before Christmas rush :-)

While writing my Christmas cards, I realised that my stash is pretty low, so using an image called My Christmas Snowball from the Paper Shelter, I made this Easel card.


This lovely image comes pre-coloured, uncoloured, and has the coloured background too.
I used all the pre-coloured features. In addition I used a snowflake embossing folder to do the front of the card. Love this lil cutie :-)

Thank you so much for stopping by. I hope you liked my tags and ease card, and feel inspired to get crafty and come play along with us. You have until 12:00 pm, CST,
on 12 January 2021, to link your project to our challenge.

Stay safe and healthy!
Hugs,