Showing posts with label DRU. Show all posts

27 January 2019

Easter Bunny is on his way!

Hello friends. I'm on the Dies R Us Inspiration Blog today sharing an Easter card. Yes, I know it's still a little early, crafting friends, but I thought I'd get a little ahead this year with my Easter cards :-)


Isn't this Easter Bunny by Die-Versions, just the cutest? You can get it at the Dies R Us store right HERE.  It won't be around for very much longer, so get your shopping done today.


This is what the card looks like when closed and ready for mailing.


And here is a full view of the inside of the card.

Now for a quick pictorial of how I put this super easy card together.


I began by cutting out the background twice using the Art of Living Frame by Jeanine's Art.  Once out of the blue patterned paper and once out of solid pink card stock. Then I cut out the bunny and after getting all my bits and pieces together, I assembled it. Using a small sponge dauber, I sponged all the edges of the bunny with Memento Desert Sand ink.


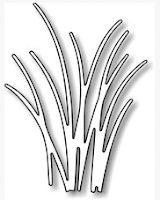
In order to add a little more interest to my scene, I used a few cuts of the Small Beach Grass
by Impression Obsession, and a few more of the Easter Eggs that come with the Easter Bunny die. Using a FineLine Bottle Applicator, I adhered the frame and the Easter Bunny scene to a 5.5" x 5.5" pink easel card base.

 For the inside, I cut another Art of Living Frame out of the patterned paper, and another little piece of grass and a couple more of the Easter eggs. To mat the sentiment, I used the inner circle of Anja's Circle from Marianne Design, then used a small circle from Memory and cut out 3 white mats.  I adhered them to each other to give it a little dimension and to make a little wedge for the easel part of the card to work :-)
And, voila, my first Easter card for 2019 was done :-)

The Marianne Design dies are normally under Special Orders in the store.  Every so often, Dies R Us runs a big sale on international dies. During these times, you will find dies from companies such as Marianne Designs, Lea'bilities, and Joy Crafts among others. The best way to know about these fabulous sales is to subscribe to the Dies R Us Newsletter.  When you go to the store's home page,  scroll down to the bottom.  There you will find a box where you can enter your email address and be put on their mailing list.

For your convenience, I've listed the materials I used on this card,
and have linked them to the Dies R Us  store:

Easter Bunny by Die-Versions


Art of Living Frame by Jeanine's Art

Anja's Circle - Marianne Designs


Small Beach Grass by Impression Obsession


Memento Desert Sand


FineLine Bottle Applicator

I hope I was able to inspire you to use your dies, create a project, and come play along with us at the Dies R Us Challenge Blog for your chance to win a gift voucher to the Dies R Us Store.  A new challenge begins on the 1st and 15th of every month.  Be sure to follow us on Facebook too.


Till next time,
Crafty hugs,


20 January 2019

Asian Theme Birthday Wishes

Hello crafting friends and welcome back.
  It's my turn today to share a project on the Dies R Us Inspiration Blog.


It was very easy to put together as there aren't too many materials involved.
I began by choosing my background paper and it all followed from there.


I used the Oriental Frame from Amy Design to create the background. This is actually a solid die, so I traced the inside, uploaded the image to the Silhouette and cut in order to have a fitted background.
Next I cut the Kimono from Cheapo Dies twice, once out of the dark red card stock and again out of the cream card stock. I used the little cut outs of the cream card stock to inlay the pattern on the kimono.
All that was left to do was to cut the Bamboo from Amy Design out of the green card stock, trim a few of the leaves and adhere it to the card. I placed the whole thing onto a 5.5" x 5.5" dark red top folding card base. Oh, yes I almost forgot, I added a few pearls for a more finished look :-)

For your convenience, here is a quick recap of the dies I used with links to the Dies R Us Store:


I'm so happy you stopped by today.  I hope I was able to inspire you to use your dies, create a project, and come play along with us at the Dies R Us Challenge Blog for your chance to win a gift voucher to the Dies R Us Store.  A new challenge begins on the 1st and 15th of every month.  Be sure to follow us on Facebook too.


Till next time,
Crafty hugs,

07 October 2018

Masculine Birthday Card

Hello crafting friends and welcome back. It's my turn today to share a project on the Dies R Us Inspiration Blog.   For my project, I made a masculine birthday card for my brother. 


I decided to fancy it up a bit by making it a Spring Fold card, and looking at it now, I think that it can very well be a feminine card too :-) I have a link to a youtube video tutorial on how to make a Spring Fold card, so please click HERE to view it.


I wanted to show you how it folds flat for mailing. It's also not very bulky so it won't add extra postage. This is always an important fact to consider when mailing something overseas.


As you can see, there is plenty of space on the back to add your personal message.

Now for a quick pictorial:


Using the Tiny's Vines and Tiny's Wine Bottle dies, from Marianne Designs, I cut them out and used various inks to create some shading.  I cut out several bunches of grapes because at this point I hadn't decided yet on how to place them on the card. Next I cut out the Arche, also from Marianne Designs, and shaded it too. I visited my friend Google and printed an image of vineyards in Bordeaux in France. It was the perfect scene to place behind my arch.
Remember that every so often, Dies R Us runs a big sale on international dies. During these times, you will find dies from companies such as Marianne Designs, Lea'bilities, and Joy Crafts among others. The best way to know about these fabulous sales is to subscribe to the Dies R Us Newsletter.  When you go to the store's home page,  scroll down to the bottom.  There you will be able to enter your email address and be put on their mailing list.


I cut the glasses out of white card stock and out of vellum. This die is from the Wine Bottle & Glass set from Lea'bilities. Using copic markers, I coloured the red wine on the white card stock and then used Glassy Accents to adhere the vellum layer on top.


I cut out the vines twice. I used the first cut as is and snipped the other to get just the right amount of leaves to fill in between. I used a pencil to roll them one way and then the other for a little dimension.

After all the bits and pieces were complete, it was just a matter of  grabbing some glue and placing all the elements together to create the scene I was looking for. 

Here's a quick recap of all the materials I used to put this card together:


Tiny's Wine Bottle

Arche

 Tiny's Vines

Wine Bottle & Glass 

Zig 2-Way Glue Pen - Squeeze & Roll


I'm so happy you stopped by today.  I hope I was able to inspire you to use your dies, create a project, and come play along at the Dies R Us Challenge Blog for your chance to win a gift voucher to the Dies R Us Store.  A new challenge begins on the first and fifteenth of every month.  Be sure to Follow Us on Facebook too. 


Till next time,
Crafty hugs,

09 September 2017

Christmas Gift Tags

Hello crafting friends. It's my turn today to share a project on the DiesRUs inspiration blog. For my project, today, I made a few Christmas gift tags.


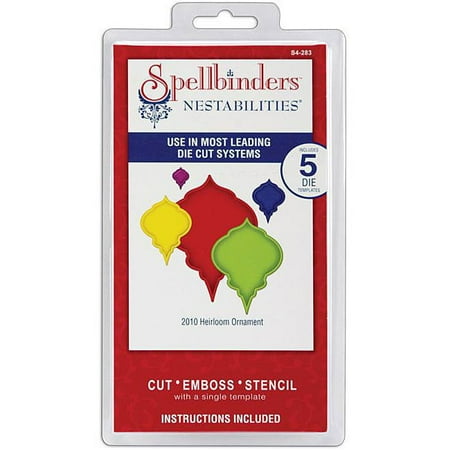
I began by looking through my stash of dies and deciding on a base tag shape.  I thought that the Spellbinders Heirloom Ornaments 2010, 2011, 2012 and 2013 were the way to go.


 I placed the shapes and sizes I wanted on my magnetic shim.  Next I took the Impression Obsession Christmas Circle Cutouts dies and placed them neatly centered inside the base dies. At times like these, I really find that the magnetic shim is wonderful as it keeps all the dies in place.  If you don't have one, no problem, you can just adhere the two dies together with some removable tape and cut them as normal.


Next, I removed the circle cutout dies and cut the same base shapes again out of the same white cardstock. These will be used for the backing of the tags.


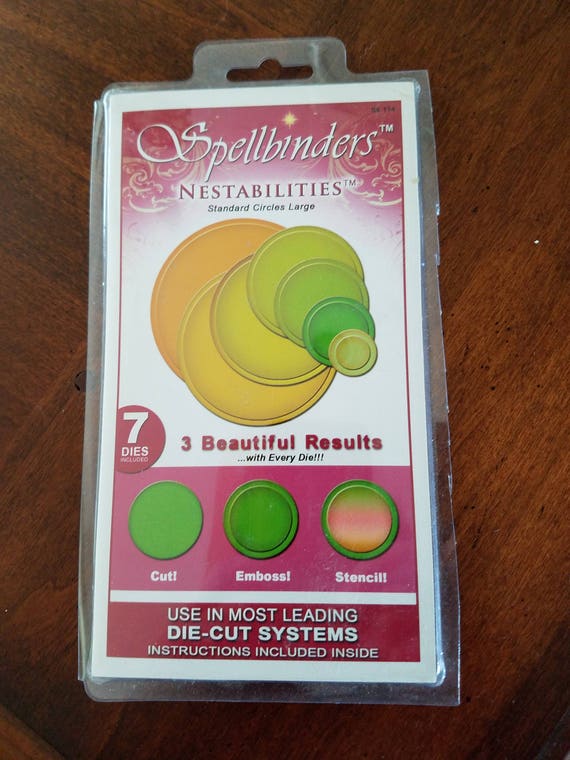
After deciding what colours I wanted to use as the background for the circle cutouts, I used a circle die from the Spellbinders Circle Dies set and cut out various circles in red, green, navy, sky blue and silver glitter cardstocks.


Once I had my backing pieces cut out, I stamped the "To" and "From" on the back of each using Versafine Black Onyx ink.  I love the sharp crisp images you get with this ink, even if it does take a little longer to dry.  Remember that this ink is not alcohol marker friendly.  If you're going to use your copic markers or other alcohol based markers, you should probably use something like the Memento Tuxedo Black ink.

I've shared with you before, that I keep all my dies on the little pink bucket (you can see it on one of the pics above) in order to prevent them from getting lost amidst all the other supplies or even thrown away.  Well, I do a similar thing with my cling stamps.  I purchased a cheap acrylic photo frame and that is where I put all my stamps until I'm finished with my project. This helps me because I know that they won't get lost or damaged.  It also helps that they're all in place when it comes to cleaning them before putting them away.


Once I had all my bits and pieces, I started assembling them. I glued the colour circle to the back of the cutout die and then the backing on top. When they were all done, I felt they needed a little more embellishing, so I cut out a few more of the shapes in glitter cardstock and used the little cut out pieces to paper piece some additional colour onto my tags. You can see this on the tags with the holly, the bells and the Christmas tree.  The tag with the candy cane, I used red stickles to make it sparkly and give it dimension. On the bauble and snowflake tags, I simply added a few rhinestones.
Lastly, I took an assortment of ribbons and twine and finished off my tags.
These are very simple to make and the possibilities are endless.  You can change shapes, colours, bling, ribbons, etc. to make them unique and fun.

Here is a quick recap of the dies I used:

Image result for impression obsession christmas circle cutouts

Spellbinders Nestabilities cut emboss stencil 2012 Heirloom Ornaments Die S5-116

Image result for spellbinders heirloom dies 2011

Image result for spellbinders heirloom dies 2012

Image result for spellbinders heirloom dies 2013


If you don't have the Heirloom Ornament dies, it's not a problem.  All you have to do is visit the DRU store and enter "Ornaments" in the search bar.  There are so many options that pop up, and these will all serve as a great background for your circle cutouts in addition to creating other beautiful ornament projects.

I hope I was able to inspire you to use your dies to create some Christmas tags for the gifts for those special people in your life. I hope you will come play along at the Dies R Us Challenge Blog for your chance to win a gift voucher to the Dies R Us Store.  A new challenge begins on the first and fifteenth of every month.  Be sure to Follow Us on Facebook too. 


Till next time,